Understanding Embroidery Stabilizers: Which One Do You Need?
Embroidery stabilizers are essential tools for achieving clean, professional-looking embroidery designs. They support the fabric, prevent puckering, and ensure your stitches stay in place. But with so many types of stabilizers available, how do you know which one is right for your project? Let’s explore the different types and their best uses.
buy stabilizers here:
Embroidery Stabilizer and Backing
1. Cut-Away Stabilizers
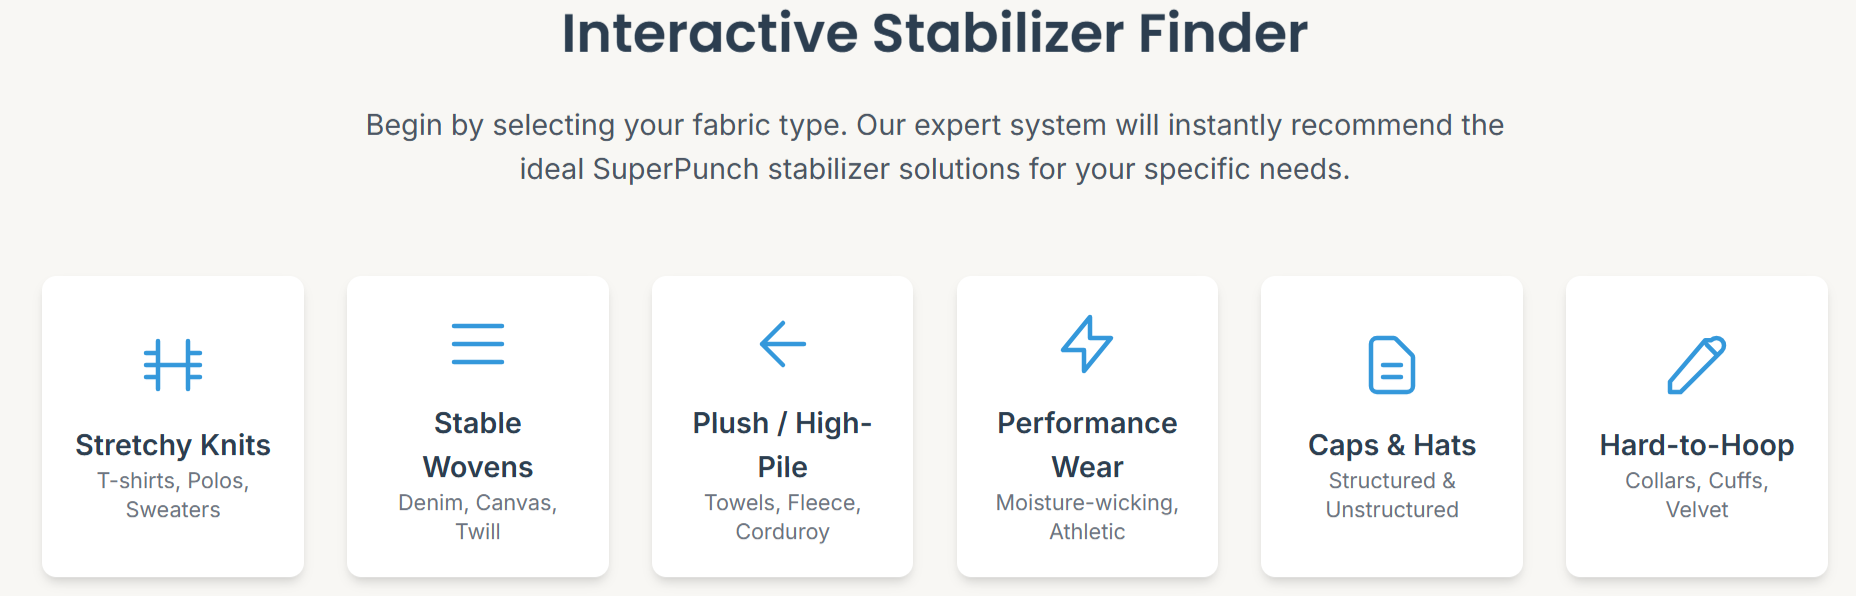
Best for: Stretchy, knit, or delicate fabrics
Description:
Cut-away stabilizers are permanently left in the fabric after embroidery. They offer maximum support and are ideal for dense or complex designs, especially on stretchy or fragile fabrics that need extra reinforcement.
Usage Tip:
Always trim close to the design after embroidery for a smooth finish.
2. Tear-Away Stabilizers
Best for: Woven fabrics, towels, or projects with simple designs
Description:
Tear-away stabilizers are easy to remove by tearing along the perforations. They provide support during stitching but are not suitable for delicate or stretchy fabrics as they can cause puckering if torn improperly.
Usage Tip:
Use a light layer of tear-away under the fabric to prevent ghosting or show-through.
3. Cut-and-Therm Stabilizers
Best for: Heat-applied fabrics or projects needing no trimming
Description:
These stabilizers are cut to size and secured with heat, making them ideal for delicate or synthetic fabrics where tearing or cutting could damage the project.
Usage Tip:
Follow manufacturer instructions for heat application to avoid melting or damaging the stabilizer.
4. Water-Soluble Stabilizers
Best for: Items like lace, scalloped edges, or delicate designs
Description:
Water-soluble stabilizers dissolve in water after embroidery, leaving a lightweight, open design. Perfect for lace effects or on items that require a soft, clear finish.
Usage Tip:
Use as a topping or underlay depending on your design complexity.
5. Bosal or Sticky Stabilizers
Best for: Appliqué or projects requiring a sticky backing
Description:
These stabilizers have a sticky or adhesive side that adheres directly to fabric, simplifying placement for intricate designs or appliqué.
Usage Tip:
Ensure not to sew through the adhesive if your project doesn’t call for it.
Final Tips:
- Match the stabilizer type to your fabric and design complexity.
- Use lightweight stabilizers for lighter fabrics and heavier stabilizers for dense designs.
- Test on scrap fabric if you’re unsure which stabilizer works best.
By choosing the correct stabilizer, you’ll ensure your embroidery turns out neat, professional, and long-lasting!
#embroiderystabilizer #superstable #embroiderybacking #machineembroiderystabilizers #embroiderystabilizers